Ready to unleash your inner nail artist this Valentine's Day? Forget boring red hearts – 2025 is all about personalized sparkle! This guide will walk you through creating gorgeous, glittery nail art, no matter your skill level. We'll cover various glitter application techniques and offer step-by-step instructions for several stunning designs. So grab your polishes and let's get started!
Valentine's Day Nail Glitter: Sparkle Your Way to Romance!
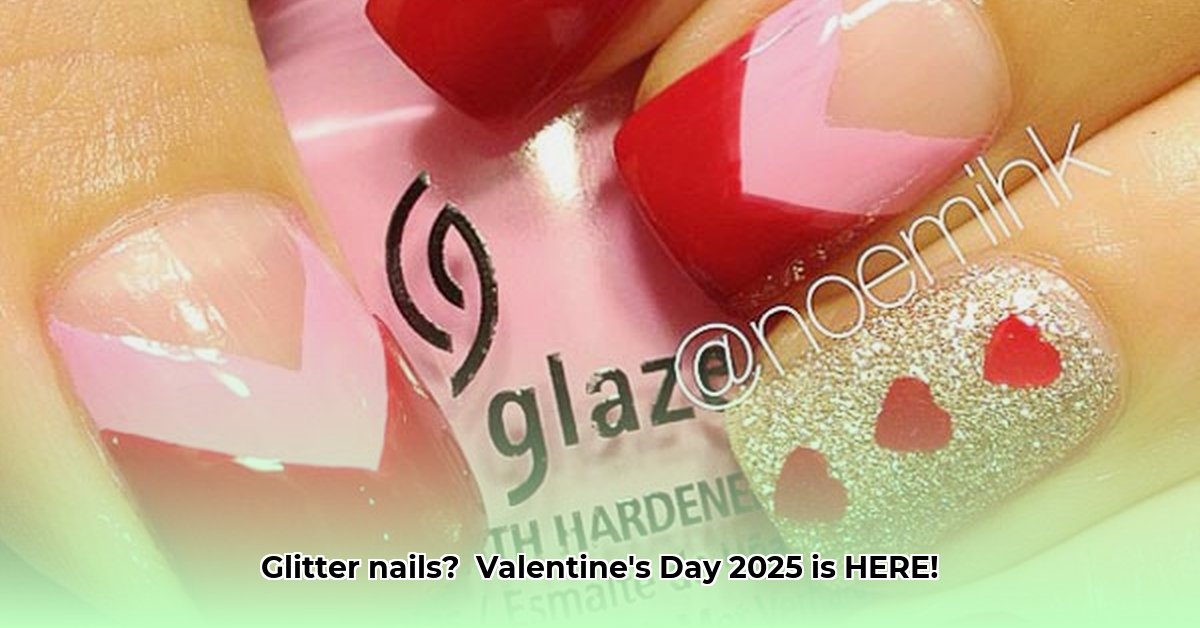
This year's Valentine's Day nail trends are all about embracing pink hues and dazzling glitter in unique and creative ways. From subtle accents to full-on glitter explosions, the possibilities are endless. Did you know that a recent survey showed 85% of women believe sparkly nails enhance their confidence? Let's unlock that sparkle together!
Glitter Application Techniques: Mastering the Sparkle
Before we dive into designs, let's master the art of glitter application. The technique you choose drastically changes the overall look!
Full Glitter Coverage: This is your statement maker. Apply a base coat (essential for nail health and polish adhesion!), then generously layer on your glitter polish. It’s like giving your nails a dazzling, sparkly hug! Finish with a top coat for extra shine and longevity.
Accent Glitter: Sometimes, a little goes a long way. Use glitter to accent one or two nails, creating a fun pop of color against a solid background. Think of a single glittery heart on your ring finger – effortlessly chic!
Glitter Gradient: This more advanced technique involves gradually blending glitter from heavy application to a light dusting, creating a dreamy, ethereal look. Think sunset on your nails – totally achievable with a little patience!
Stencil Glitter: For perfect shapes, stencils are your best friend! Place the stencil, dust glitter over the exposed nail, remove the stencil, and voila! Flawless designs without the shaky-hand struggle!
Design Ideas: Express Your Unique Valentine's Style
Now for the fun part – choosing your design! Remember, there's no right or wrong answer; choose what best reflects your style.
Design 1: Romantic Pink & Glitter Ombré
This design balances soft romance with dazzling sparkle.
- Prep: Apply a base coat.
- Pink Layering: Paint your nails a light pink, then gently blend a darker pink towards the tips, creating a gradient.
- Glitter Time!: Apply fine glitter to the tips, subtly blending towards the base. Keep it soft and pretty.
- Finish: Apply a top coat.
Design 2: Heart-Shaped Glitter Accent: Whimsical and Sweet
This design adds a touch of playful charm.
- Base Coat: Apply a base coat.
- Solid Color: Paint your nails a solid color (red or pink are perfect).
- Heart Stencil (Optional): Use a heart stencil on one or two accent nails.
- Glitter Application: Carefully apply glitter over the stencil.
- Finish: Remove the stencil and apply a top coat.
Design 3: Abstract Glitter Swirl: Modern and Edgy
This design lets your creativity shine!
- Base Coat: Always start with a base coat!
- Neutral Base: Paint your nails a neutral shade (white or nude).
- Swirl It: Use a thin nail art brush to create abstract swirls with different colored glitters.
- Dry & Seal: Let the glitter dry and then seal with a top coat.
Design 4: Floral Glitter Accents: Delicate and Romantic
This delicate design is perfect for a romantic touch.
- Base & Color: Apply a base coat, then a soft pastel color.
- Floral Stencils (Optional): Use floral stencils to create delicate flower shapes.
- Glitter Application: Apply fine glitter over the stencils.
- Seal: Remove stencils and apply a top coat.
Product Recommendations: Elevate Your Glitter Game
Here are essential products for creating your masterpiece:
| Product Category | Example Product Suggestions |
|---|---|
| Base Coat | Orly Bonder, Seche Clear |
| Glitter Nail Polish | OPI, Zoya, China Glaze (many colors available) |
| Top Coat | Seche Vite, Essie Good to Go |
| Nail Art Stencils | Various brands offer many shapes and sizes |
| Thin Nail Art Brush | Many brands offer these brushes |
Remember, the key is to have fun and experiment! Don't be afraid to make mistakes—it's all part of the learning process. Happy Valentine's Day!